Paddington II
The worlds fastest
padding press
Heated blower and quick hold down
clamp
will make padding a breeze and profitable!!!
 |
 |
 |
 |
 |
 |
 |
 |
 |
 |
 |
 |
$745.00
|
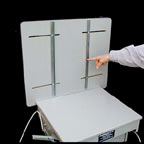
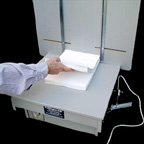
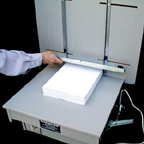
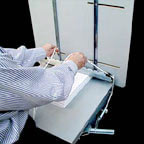
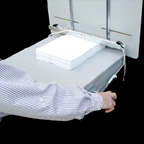
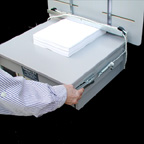
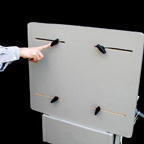
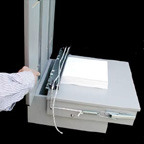
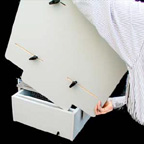
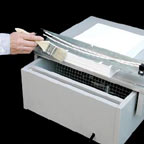
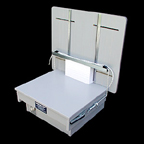
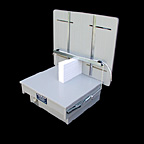
Paddington II Instructions 1. Jog your paper well before trying to pad it. 2. Use a padding compound that pours like paint not like molasses. A heavy thick coat does not make it stronger, it just increases the drying time.3. The springs on the locking latches are designed to exert a steady 30lb. pressure on the paper when extended from 1/4 to one inch. It is therefore not necessary to extend the springs more than 1/4 inch to provide more than enough pressure on the paper for padding. To much pressure will break the latches or springs. 4. Loosen the back knobs on the back of the back board and adjust the metal paper guides to the size paper you are going to pad. The side guides on the backboard must always be adjusted to line up with one of the scored lines on the backboard. Be sure the slide table is against the backboard. Jog your paper then place it between the side guides and firmly up against the back board. If the paper you are padding is not a standard size you can either use only one of the side guides to stack you paper against, or slide the side guides out of the way and stack you paper in the center. In either case the pressure bar must always be in the center of the padding table to work properly. 5. Place the pressure bar on top if the stack of paper so that the center notch on the bar lines up with the center line on the back board. The paper guides should fit between the notches on the pressure bar. 6. Be sure the latches are open then take the rope ends and lay them in the cleats on the pressure bar. Take all the slack out of the rope, but do not pull tight enough to extend the spring. 7. Place your fingers on the open clams and your thumbs on the slide table, now close the clamps. If your hands are to small to do this you can lean your body against the slide table and close the clamps with your hands. 8. The clamp should be locked with the spring extended about 1/4 inch. This will provide 30 lbs. of pressure on the paper. Now pull the slide table until it stops. 9. Remove the back board and rotate Paddington so the edge to be padded is accessible. Apply the Paddington compound or carbonless solution to the paper being sure to thoroughly brush it on but not in a thick heavy layer. We recommend that you place a piece of card stock over the backboard slot to catch any compound the might drip. 10. Replace the backboard and turn the timer on the front of the unit to 5 minutes. Be sure the slide table is still pulled forward and that you can feel the flow of hot air coming up past the paper. 11. When the compound is dry, open both latches at once. To release the ropes, put your hand on the Pressure Bar and with the other hand grab the end of the rope and pull toward the center and up at the same time. Repeat the process for the other rope. You can now take the pressure bar off and remove the paper
|